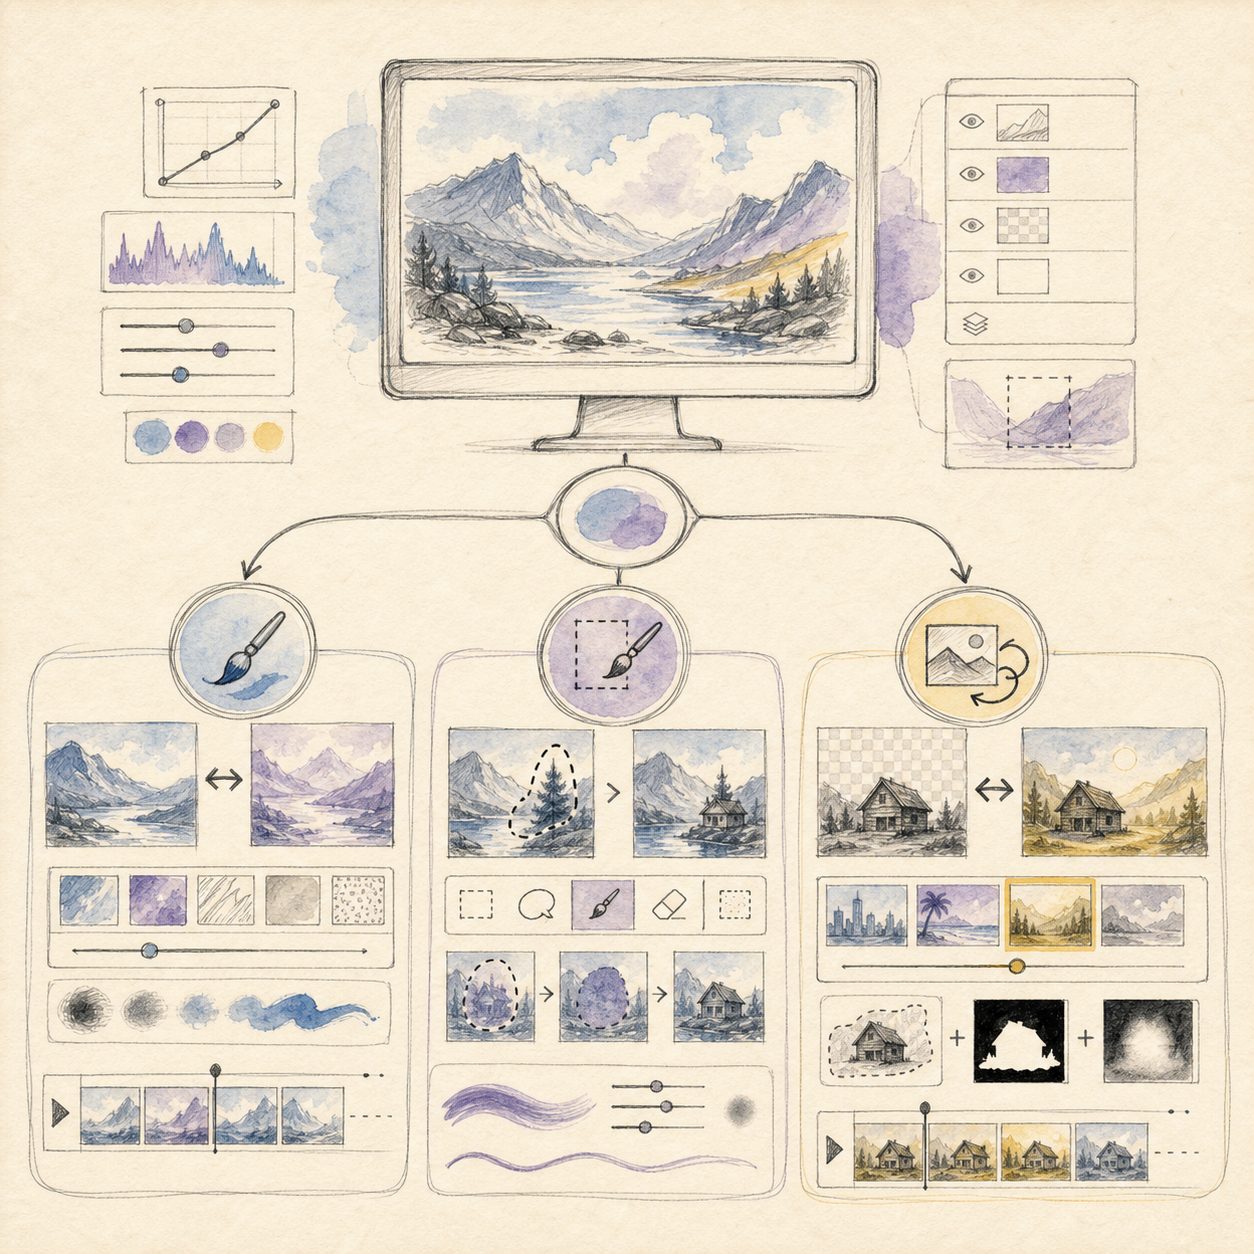
Image-to-Image Tools 2026: Style Transfer vs Inpainting vs Background Replacement — Which One Do You Need

The short answer up front: “Image-to-image” isn’t one feature — it’s three completely different jobs, and no single tool covers all of them well. Want to turn a photo into an illustration? Pick a tool strong at style transfer. Want to change just one small part of an image and leave everything else untouched? That’s inpainting. Want to cut out the subject and drop in a solid color or new scene? That’s background replacement. And if your job mixes all three and you don’t want to learn a pile of software controls, use a chat-based editor — just describe what you want changed in plain language. The table below gives you the 30-second overview; we break down each category after it.
30-Second Overview: Pick Your Task at a Glance
| What you’re trying to do | Plain-language description | Typical tool category | Learning curve | Best for |
|---|---|---|---|---|
| Style transfer | Turn a photo into illustration/oil-painting/anime style | Image models’ “image-to-image” mode, dedicated style apps | Medium | Avatars, cover art, fan art |
| Inpainting | Change one small area, leave the rest untouched | Photoshop Generative Fill, professional retouching tools | High | Detail retouching, object removal, fine edits |
| Background replacement | Cut out the subject + swap in a solid color or new scene | Background removal tools, e-commerce image tools | Low | E-commerce, ID photos, posters |
| A mix of all three | Describe the change in one sentence | Conversational AI image editing | Very low | Anyone who doesn’t want to learn software |
Selection rule: Ask yourself first — “Am I changing the whole image’s vibe, editing just one small area, or swapping the background?” — then pick your tool. Reframe the question from “which AI is strongest” to “what am I actually trying to do this time,” and the choice becomes obvious.
The core difference between “image-to-image” and “text-to-image” is this: text-to-image paints from a sentence with nothing to start from, while image-to-image takes an existing photo and modifies it. That makes it better suited to cases where you already have a source image and just want to adjust it — controllability is naturally higher than pure text description. If you want to compare the underlying image quality and text-rendering of mainstream generation models first, check our head-to-head comparison of 7 leading AI image generators.
Style Transfer: Changing the Whole Image’s “Vibe”
Style transfer solves for “same content, different look” — the same portrait re-rendered as Studio-Ghibli style, oil painting, or cyberpunk. Its technical roots trace back to the neural style transfer method Gatys et al. introduced in 2015. Today’s mainstream approach feeds the source image into an image model’s “image-to-image” mode, using a strength parameter to control how much the result resembles the original versus the new style.
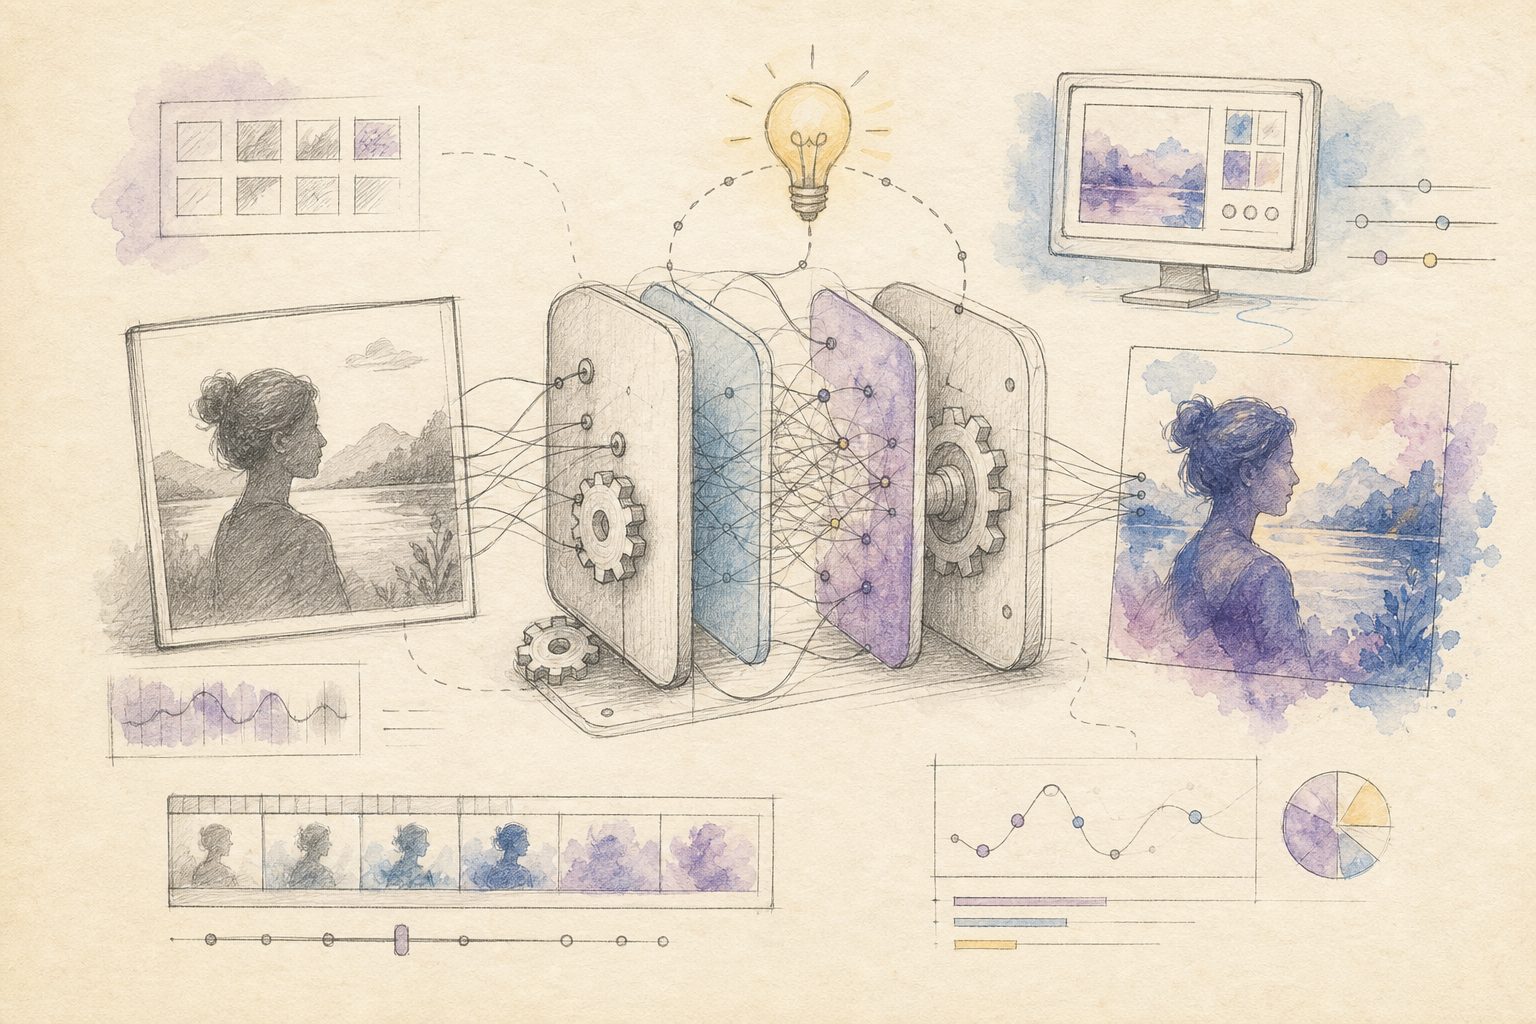
Illustration by the ChatImg.ai team (hand-drawn style)
How to choose:
- Need to preserve the face and composition: Use a tool that lets you tune “reference strength/similarity,” and dial it down — facial features and pose hold up better.
- Need a strong, unmistakable style: Turn the strength up, but expect detail drift (fingers, text on signs tend to distort).
- Need to batch-produce the same style: Prioritize tools that let you save a “style preset” so you don’t have to re-describe every image.
Practical rule: The most common failure in style transfer is “the face changed.” Test parameters on a small batch first, lock in a strength value you’re happy with, then run the full batch — that saves roughly half the time compared to gambling image by image.
Style transfer doesn’t depend heavily on prompt wording — what actually determines success is source image quality plus the strength parameter. A blurry, poorly lit original can’t be saved by any style.
Inpainting: Changing One Small Area, Leaving the Rest Untouched
Inpainting is the most “surgical” of the three: you select a region of the image, and only that region gets repainted — every other pixel stays exactly as it was. Typical uses include removing a stranger from the background, fixing a blemish on a product, or turning closed eyes into open ones.
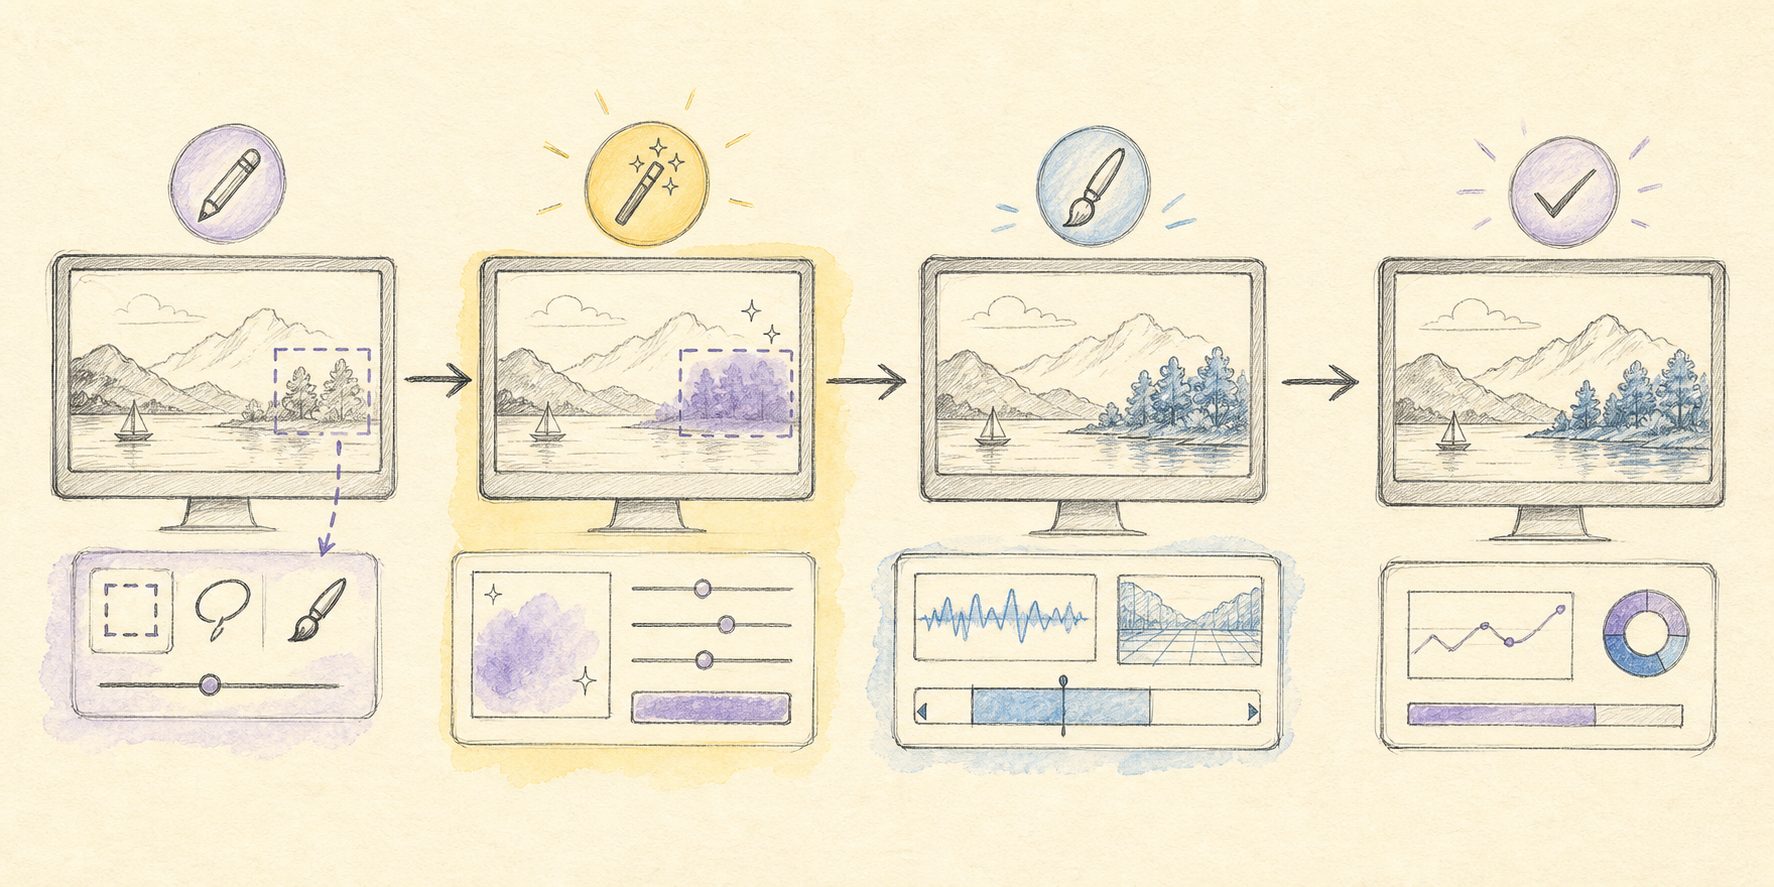
Illustration by the ChatImg.ai team (hand-drawn style)
The benchmark tool for this job is Adobe Photoshop’s Generative Fill, along with the web-based inpainting in Adobe Firefly (firefly.adobe.com). Their edge is precise selection plus native layer integration — professional retouchers rely on them. The tradeoff is a steeper learning curve: you need to understand selections, feathering, and layers.
How to choose:
- Professional retouching for client delivery: Photoshop Generative Fill is still the gold standard — nothing beats its selection control.
- Occasionally removing clutter or fixing a small blemish: Skip the professional software; a lightweight tool that lets you “paint over what you want changed,” or a conversational editor, gets there faster.
- Need the rest of the image to stay 100% unchanged: Make sure you’re using a “masked/local” mode, not “full-image regeneration” — the latter will alter areas you never selected.
Practical rule: Inpainting lives or dies on the selection. Too large a selection and the change spills into areas it shouldn’t; too tight and you get a visible seam at the edges. When in doubt, select slightly larger and feather the edge rather than selecting too tightly.
Background Replacement: Cutting Out the Subject and Swapping the Scene
Background replacement is the most standardized and highest-demand of the three: pull the subject out of its original background and drop in pure white (e-commerce/ID photos), a solid color, or a brand-new scene (placing a product in a café setting).
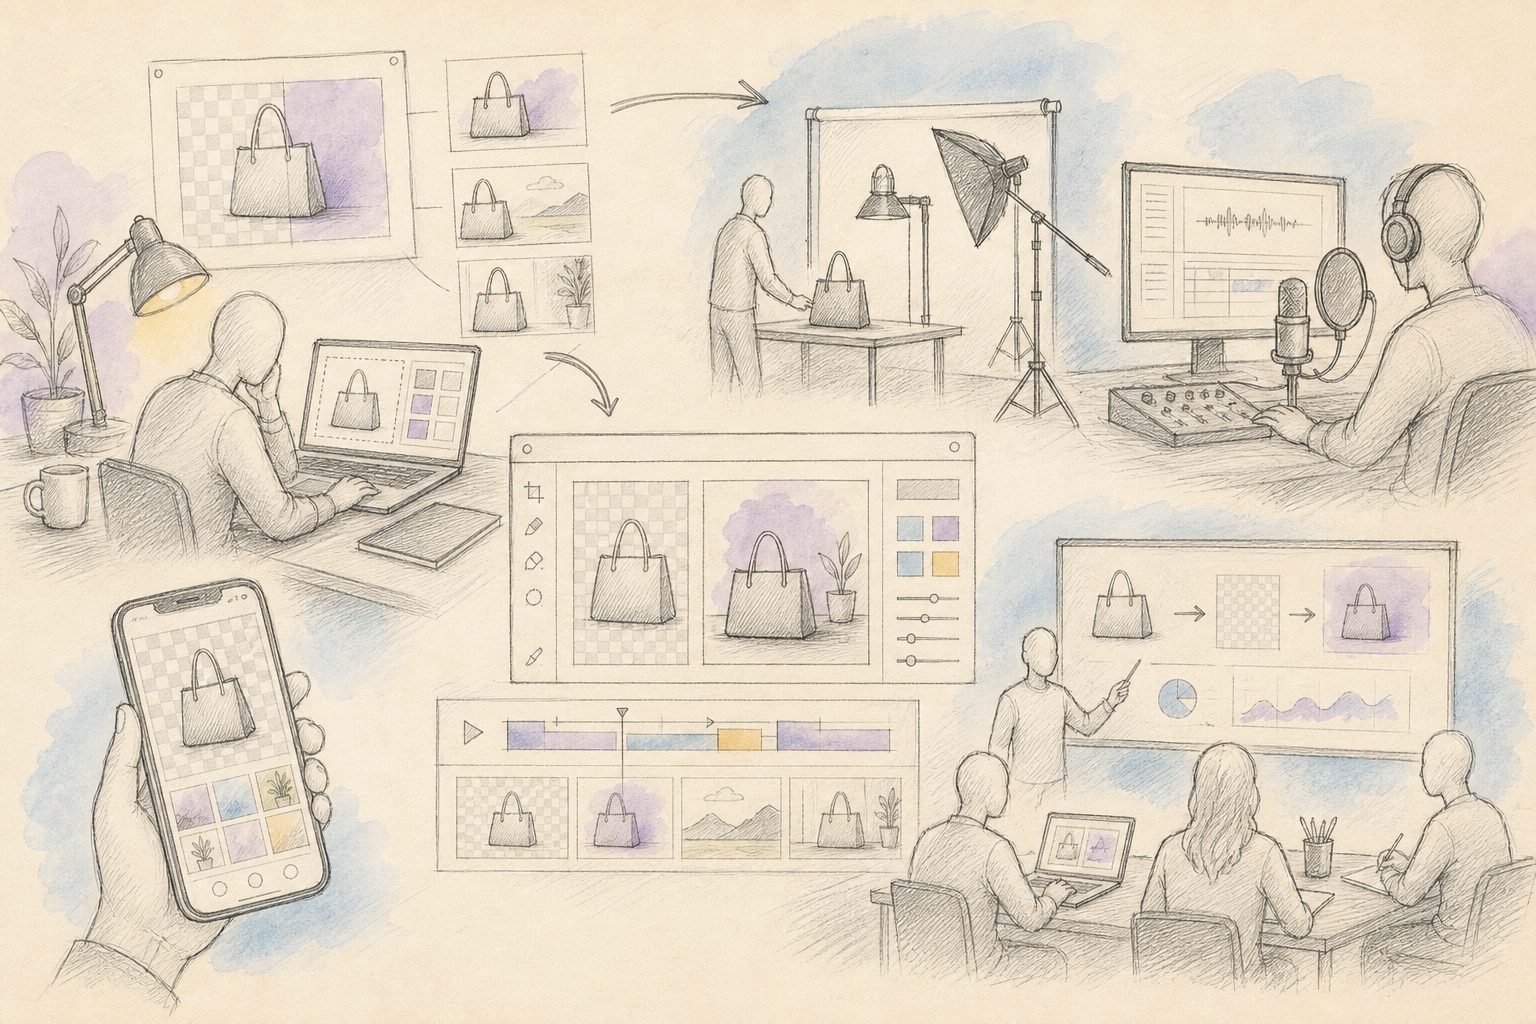
Illustration by the ChatImg.ai team (hand-drawn style)
For a simple cutout onto a solid color, a tool like remove.bg handles it in one click — fast and good enough. If you need a scene with realistic lighting relationships (product shots, model photos), you need an e-commerce image tool that can “relight” the subject, such as Photoroom, which matches the subject’s shadows to the new background so it doesn’t look pasted in.
How to choose:
- Just need a white or transparent background: A one-click cutout tool is fastest — no need for anything heavier.
- Need a realistic scene with natural lighting: Choose an e-commerce tool with “AI scene generation plus relighting,” or use a conversational editor and just say “swap in a café background, light coming from the upper left.”
- Subject has hair or fine, wispy edges: Make sure the tool has high cutout precision — stray hair strands are where cheap tools fall apart.
Practical rule: The biggest tell in background replacement is mismatched lighting — a front-lit subject on a backlit background looks fake instantly. When changing scenes, always prioritize a tool that automatically matches lighting.
In e-commerce and marketing, background replacement is a near-daily task — a single product shot often needs white-background, solid-color, and lifestyle-scene versions, making it one of the most frequently used operations in image-to-image editing.
When the Job Mixes All Three: One Sentence, Handled by Conversational Editing
Real-world work is rarely “pure style transfer” or “pure background replacement” — it’s usually “put this product shot in a café background, warm up the tone a bit, and remove that watermark in the corner.” Switching between three tools and learning three sets of controls for that is exhausting.
Conversational AI image editing works differently: you upload the original image, describe in plain language what you want changed and how, and the AI hands you the result — if it’s not quite right, you just keep talking: “warmer,” “blur the background a bit more.” It folds style transfer, inpainting, and background replacement into a single conversation. The tradeoff is that pixel-level selection control isn’t as precise as dedicated software, but for the vast majority of “good enough” jobs, the speed and low barrier to entry win by a wide margin.
It’s the best fit for:
- Creators, e-commerce sellers, and marketers who edit images often but don’t want to learn Photoshop.
- Quickly testing multiple directions (five backgrounds, three styles) with fast iteration.
- Editing on the go from a phone, where opening professional software isn’t practical.
Want to try one-sentence image editing yourself? Open ChatImg.ai, upload a photo, and just describe what you want changed to get started.
Practical rule: To decide whether an edit deserves professional software, ask one question — “can this change be described in a single sentence?” If yes, conversational editing is fastest. If no (you need pixel-level precision), that’s when dedicated software earns its complexity.
Quick Reference Table
| Scenario | Best approach | Why |
|---|---|---|
| Turning an avatar into illustration/anime style | Style transfer (low strength, preserve face) | Keeping facial features intact matters most |
| Removing a stranger from a photo | Inpainting | Everything else must stay unchanged |
| Product shot on a white background | One-click background removal | Fast and standardized |
| Placing a product in a realistic scene | Background replacement + relighting | Lighting has to match |
| Changing style, background, and removing a watermark at once | Conversational editing | One conversation covers everything |
| Pixel-level retouching for client delivery | Photoshop Generative Fill | Unmatched selection control |
Frequently Asked Questions
Q: What’s the difference between image-to-image and text-to-image? A: Text-to-image paints from a sentence with no starting image. Image-to-image takes an existing photo and modifies it. When you have a source image and just want to adjust it, image-to-image gives you more control.
Q: My face changed after style transfer — what do I do? A: Lower the “reference strength/similarity” parameter so the result stays closer to the original, or switch to a tool with face-preservation support. The clearer your source image, the easier it is to keep the face intact.
Q: Will inpainting change areas I didn’t select? A: Not if you use “local/masked” mode — it only repaints the region you selected. “Full-image regeneration” mode is the one that can alter unselected areas, so make sure you don’t pick that by mistake.
Q: Why does my background replacement look fake? A: Usually mismatched lighting. The light direction and color temperature of the subject and the new background need to match — prioritize tools that auto-relight, or explicitly describe the light direction when using a conversational editor.
Q: Can one tool handle all three jobs? A: Professional software can, but with a steep learning curve. Conversational editing covers the vast majority of everyday needs, letting you switch tasks with a single sentence — the tradeoff is that pixel-level selection control isn’t as precise as Photoshop. Choose based on whether “good enough” works or you need pixel-perfect precision.
There’s no “strongest image-to-image tool” — only the tool that fits the job in front of you. Style transfer comes down to parameters, inpainting comes down to selection, background replacement comes down to lighting — remember those three threads and you won’t pick wrong. For the majority of everyday “good enough” edits, describing what you want in one sentence on ChatImg.ai is usually faster than opening three different pieces of software.
BibiGPT Team · ChatImg.ai
More in this series
- AI Headshot Generator 2026: The Complete LinkedIn & Professional Profile Guide (Free Tools, 5 Styles, Real Results)
- AI Pet Portrait Generator 2026: Oil Painting, Watercolor, Renaissance Pet Art (Etsy Commercial License Guide)
- AI X-Ray Image Generator 2026: Safe & Ethical Use Cases (Medical, Artistic, Educational)
- AI Palm Reading: A Practical Guide to the 5 Lines + Five Elements + the Tianji Chart
- AI Yearbook Photos: The 2026 Comeback Guide (with 5 Battle-Tested Prompts)