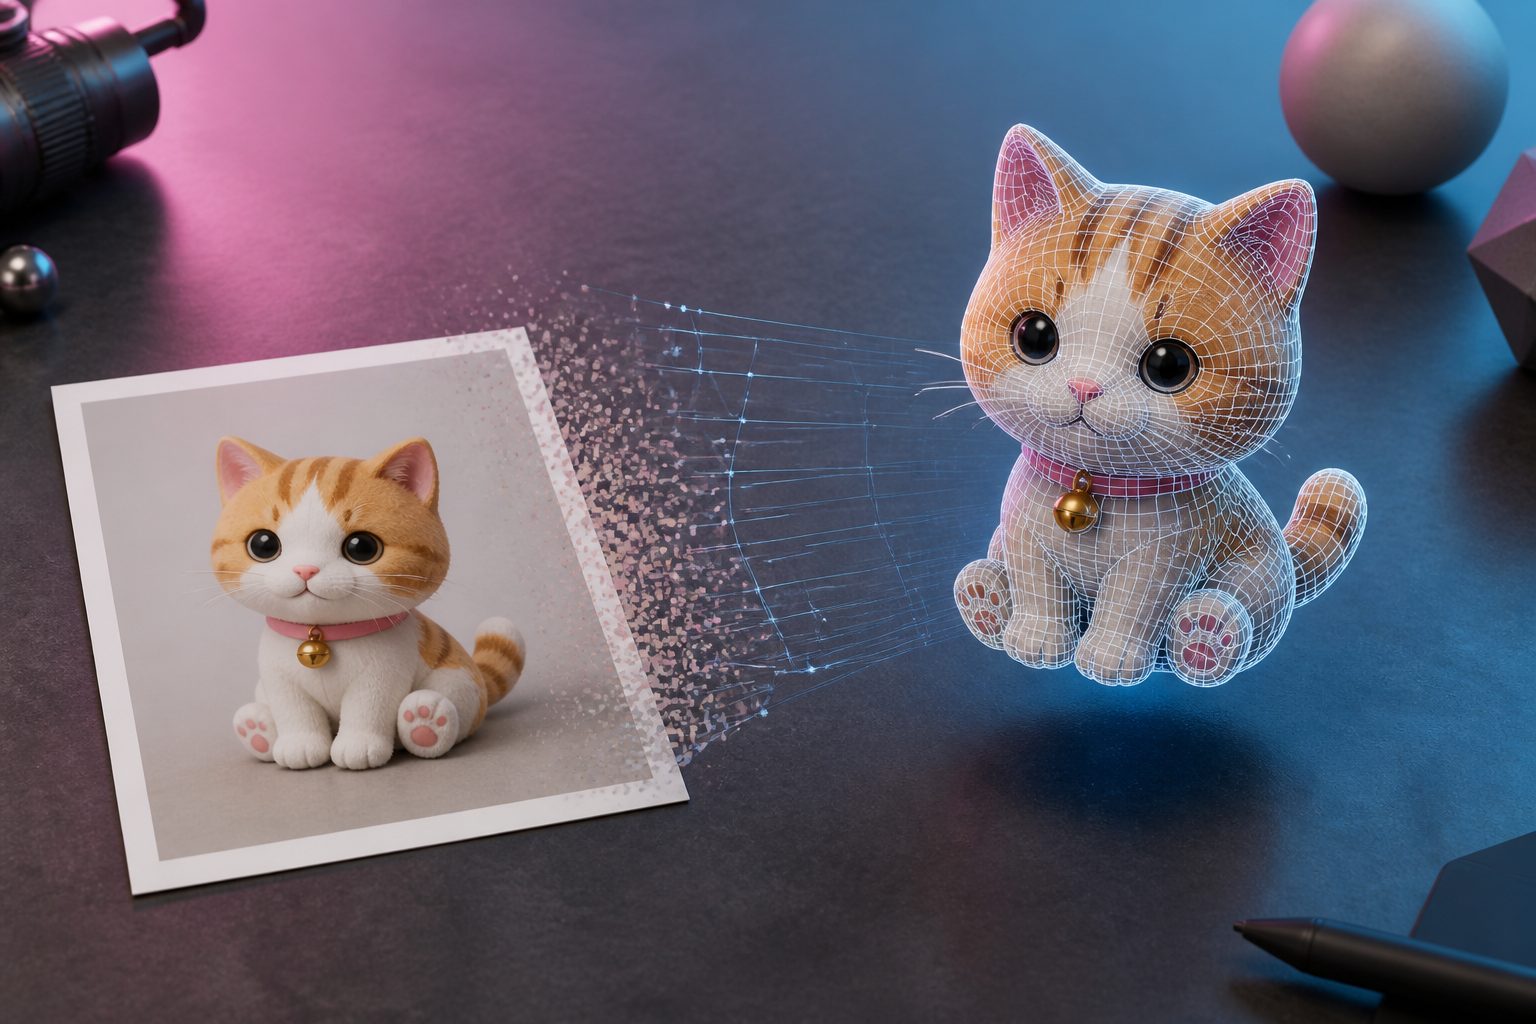
Image to 3D Model: The Complete 2026 Guide — From a Single Photo to Print-Ready, Game-Ready 3D Assets

You have a photo: maybe a product shot on a white background, maybe a character illustration you spent six months on, maybe just a quick snapshot of a figurine on your desk. What you actually want is the 3D version — something you can spin around and inspect, drop into Unity, or print out and put on a shelf. The traditional answer was: spend three months learning Blender, or pay a modeler a few hundred to a few thousand dollars to outsource it.
The 2026 answer is different: hand the image to an AI and get back a fully textured 3D model in minutes. This path only really matured this year — generation quality has gone from “barely passable rough draft” to “usable straight out of the box,” and output has expanded from a single preview file to full coverage across games, film pipelines, and 3D printing.
But “usable” isn’t the same as “you know how to use it well.” Give the same tool to two people, and one gets a model whose backside is a blurry mess while the other nails it on the first try. Give them the same photo, and one person’s STL fails to slice while the other has a finished print on their desk by the end of the day. The difference isn’t the tool — it’s the method. This guide covers the method in full: how to choose between the three generation modes, how to shoot reference photos, where each of the five formats belongs, and a complete workflow from photo to a finished print.
Why “Image to 3D” Finally Works in 2026
A few years ago, image-to-3D was the classic case of “impressive in a demo, useless in practice.” The front looked fine, but rotate to the side and things started falling apart — textures turned to mush, and the mesh topology was too chaotic to edit further. The root cause: a single photo only contains information from one viewpoint, so everything you can’t see has to be “imagined” by the model, and early models simply weren’t good at imagining.
Two years brought three key shifts. First, generation models got dramatically better at reasoning about “the parts you can’t see” — feed in a front-facing photo, and the AI can now infer a plausible back structure from priors learned across massive 3D datasets, instead of just mirroring or faking it. Second, multi-view fusion became standard: give the AI 2-4 photos from different angles, and it fuses the real information from each viewpoint into one geometry, with precision approaching an actual scan. Third, the output side connected the full pipeline — a single generation now exports GLB, FBX, OBJ, USDZ, and STL simultaneously, so game engines, film software, 3D printers, and Apple AR can each grab what they need.
Rule of thumb: Don’t judge whether an image-to-3D tool is mature by the front-facing render on its homepage. Rotate the model to the back and the bottom. The geometry and texture quality back there is the real benchmark for these tools.
For everyday creators, this pushes the barrier to entry for 3D content down from “professional skill” to “know how to take a photo.” It’s the same story as smartphone cameras displacing entry-level DSLRs: professional modelers aren’t going away (fine detailing and high-end assets still need a human), but AI can now handle 80% of everyday 3D needs.
Choosing a Generation Mode: Single Image, Multi-View, or Text
There are three mainstream input modes for AI 3D generation today, each with a clear best use case. Picking the wrong one is the single biggest way beginners waste their generation credits:
Single-image mode (Image to 3D): upload one image, and the AI infers the complete 3D structure. Best for concept art, illustrations, and AI-generated images — anything that was never a physical object to begin with. Since there’s no real backside to compare against, the AI’s best guess is already the optimal answer. It’s the fastest and simplest option.
Multi-view mode (Multi-Image to 3D): upload 2-4 photos from different angles, and the AI fuses the real viewpoint information to reconstruct the object. Best for reproducing something that actually exists — figurines, sculptures, physical products. The backside is no longer a guess, and precision is noticeably higher than single-image mode.
Text mode (Text to 3D): generate directly from a written description, no image needed at all. Best for creating something purely imaginary from scratch — “an orange cat wearing an astronaut helmet” doesn’t exist in reality, so text is the fastest way to specify it.
Rule of thumb: Real object in hand → multi-view. Have an image but no physical object → single-image. Only have an idea → text. That one line resolves nine out of ten mode-selection questions.
One combo that’s easy to overlook: use a text-to-image tool first (like ChatIMG’s conversational image generation) to iterate your idea into a concept image you’re happy with, then run it through single-image mode. It’s one extra step compared to going straight from text to 3D, but you get precise control over the shape while you’re still in 2D — which is far cheaper than reworking things once you’re in 3D.
Shooting Reference Photos: The Number One Variable in Model Quality
Assuming you’re using the same tool, reference photo quality affects your result more than every other factor combined. This is especially true for multi-view mode — the AI needs to extract geometric clues from your photos, and no model, however strong, can reconstruct information that was never captured.
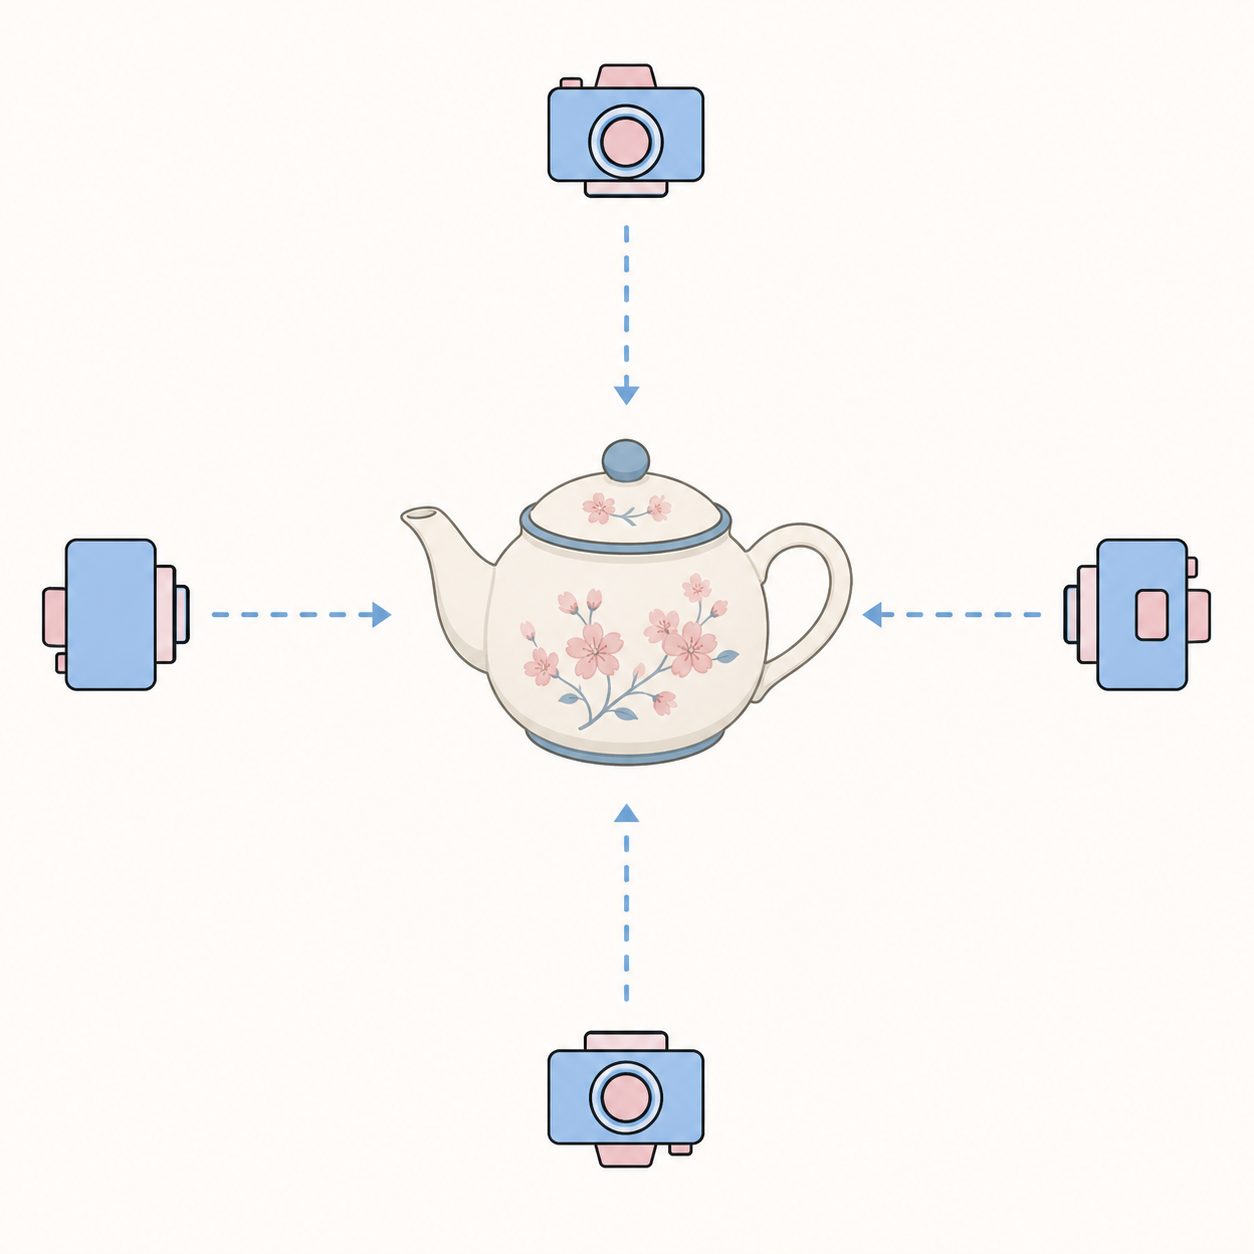
In order of importance, the four rules of multi-view shooting:
- Angle coverage: one shot each from the front, left side, right side, and back. Four photos covering 360° hits the best balance between reconstruction accuracy and shooting effort. If you can only manage two, pick front + back, not front + side.
- Consistent lighting: shoot all photos under the same lighting. Change the light between shots and the AI will misread brightness differences as surface color differences, and your texture will come out mottled. Even, diffused light (a window on an overcast day, a softbox) is the most reliable.
- Clean background: use a solid-color background, or at minimum a low-clutter one. Clutter in the background can get mistaken for part of the object — that coffee cup on the table might end up fused onto your figurine’s back.
- Complete subject: the object should be fully in frame, not cropped, not blocked by your fingers. Aim for 60-80% of the frame — too small and you lose detail, too large and the edges distort.
Rule of thumb: Before you finish shooting, do one self-check — line up your four photos and see if you, personally, can mentally reconstruct the object’s full shape from them. If you can’t do it, neither can the AI.
Single-image mode is far more forgiving, but still has priorities: front or 3/4 view beats a pure side profile, a clear silhouette beats artistic blur, and even lighting beats hard side lighting. Hand-drawn sketches and AI-generated images work perfectly well, as long as the subject’s boundaries are clear.
Where the Five Export Formats Belong: GLB, FBX, OBJ, USDZ, STL
Once generation finishes, you’ll get files in five formats. They aren’t “five copies of the same thing” — they’re five entry points into five different pipelines. Knowing where each one belongs saves you a lot of format-conversion hassle:
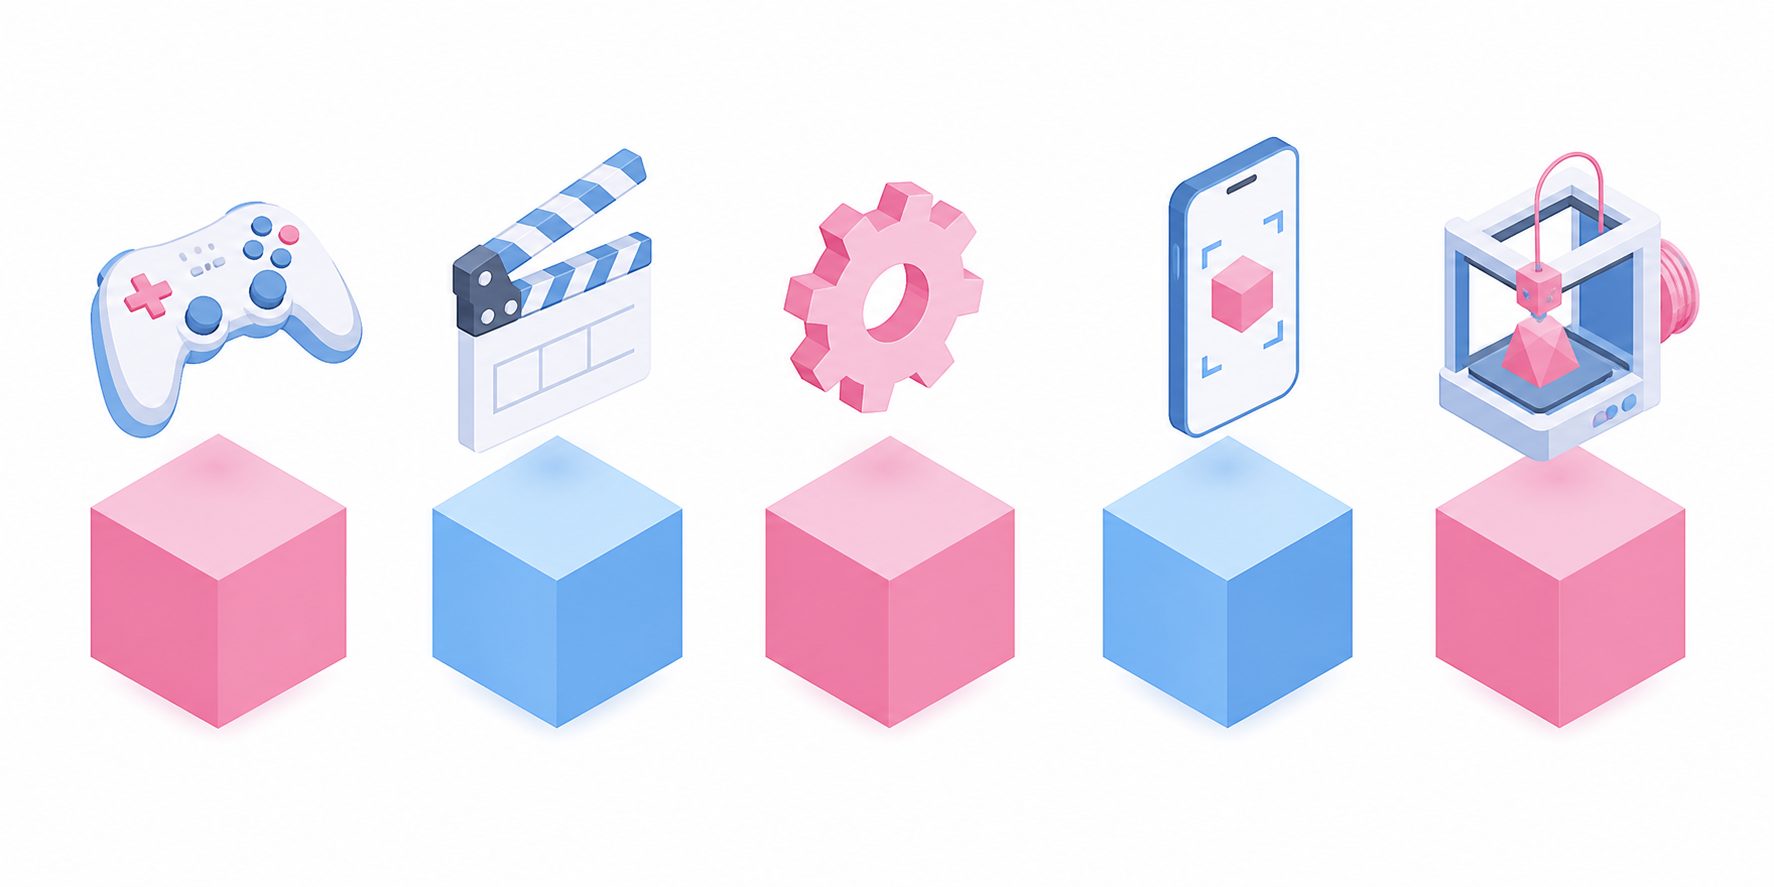
- GLB: the universal standard for web and real-time rendering (the binary packaging of the Khronos glTF spec), with textures and materials bundled into a single file. Drag it straight into Blender, Unity, Unreal, or Three.js and it just works. When in doubt, pick this one.
- FBX: the long-standing standard for film and game production pipelines, the native language of Maya, 3ds Max, and Cinema 4D. Use it if you’re going through a traditional DCC workflow or need to attach skeletal animation.
- OBJ: the oldest and most universally supported static mesh format — nearly every 3D application (including many sculpting and CAD tools) can read it. Your compatibility fallback.
- USDZ: the native format for Apple’s AR Quick Look. Open it on an iPhone or iPad and it drops straight into your real-world space in AR, no app install required — the fastest way to send a client a product preview.
- STL: the de facto standard for 3D printing, geometry only, no color. The standard input for every slicer (Cura, PrusaSlicer, Bambu Studio).
Rule of thumb: Match the format to the destination — web/engine → GLB, film pipeline → FBX, compatibility fallback → OBJ, iPhone AR → USDZ, 3D printing → STL.
One common point of confusion deserves its own callout: why does my STL print come out with no color? Because the STL format itself doesn’t carry any color information — that’s a limitation baked into the format since 1987, not a flaw in the tool. For single-color prints it doesn’t matter; if you want a full-color physical piece, use the GLB/OBJ from the same generation run with a full-color print service.
The Full Workflow: From a Photo to a Finished 3D Print
Now let’s chain everything above into one complete pipeline. Using “turn my cat into a desktop figurine” as the example, you won’t need any modeling knowledge at all:
Step 1: Shoot. While your cat is holding still (good luck), take one photo each from the front, both sides, and the back, all under the same lighting. Can’t manage all four? No problem — two or three photos will still run through multi-view mode, just with somewhat lower precision, which is usually still good enough.
Step 2: Generate. Open Multi-Image to 3D, upload your photos, pick a quality tier (standard is fine for everyday use; go for the high-detail tier if you need finer geometry), and hit generate. The model is ready in 2-8 minutes — rotate it 360° right in the browser and check for obvious flaws, paying special attention to the back and the bottom.
Step 3: Download and slice. Once it passes inspection, download the STL and import it into your slicer. Remember to add supports for overhanging details like a cat’s tail, and scale it to your target size (8-12cm is a safe range for a desktop piece — go too small and detail turns to mush).
Step 4: Print and finish. Start with PLA and a 0.2mm layer height. After printing, remove the supports, lightly sand away the layer lines, and if you want color, prime it first and hand-paint.
If you want to see someone else walk through this whole process first, this hands-on video shows the full journey from generating a 3D model out of a photo to a successful print:
Even a failure isn’t a real loss — if generation fails or times out, your credits are automatically refunded in full, so you just grab a clearer photo and try again. The feeling of successfully printing a model you generated yourself, that “I actually made this” moment, is worth all the fiddling.
Choosing a Tool: ChatIMG, Meshy, Tripo, and fast3d Compared
The image-to-3D space is already crowded in 2026, and the major options each have their own focus:
Meshy is currently the most talked-about dedicated player, with the broadest feature set (retopology, rigging, and animation presets all included), making it a fit for serious 3D users. Tripo stands out for generation speed and game-asset quality, which makes it friendly for indie game developers. fast3d.io is built around minimal friction and fast output, handling both text-to-3D and image-to-3D on a single page. What they all share: each is an independent, dedicated 3D site, meaning you need to sign up and top up separately just for 3D.
Where ChatIMG differs is that it puts 3D generation inside a complete AI creative workspace: one account, one shared credit balance, covering conversational image generation, image-to-video, and image-to-3D. That means the workflow “iterate a concept with text-to-image → convert it with single-image to 3D → download and print” can happen entirely in one product, without shuttling files between three sites and paying three separate bills. All three modes — single-image, multi-view, and text — plus all five export formats are fully supported too.
Rule of thumb: Doing 3D every day and need rigged animation → a dedicated tool (Meshy/Tripo). 3D is just one step in a broader creative flow, and you value an all-in-one image-video-3D workspace → ChatIMG. Choose based on how often you use it, not by feature-list length.
Whichever tool you pick, the shooting discipline, mode selection, and format knowledge above carry over completely — method holds its value better than any tool does.
Frequently Asked Questions
How long does it take to generate a 3D model? Most mainstream tools fall in the 2-10 minute range, depending on the quality tier and queue times. That’s two orders of magnitude faster than traditional modeling (hours to days).
Can I use the generated models commercially? Models generated with a paid plan on ChatIMG belong to you and can be used for games, e-commerce, printing, and other commercial purposes. If you’re using another tool, check its terms — commercial licensing on free tiers is often restricted.
What’s the polygon count? Is it good enough to drop straight into a game? The default output is around 30,000 polygons, which works fine directly for display, prototyping, and printing. For polygon-sensitive mobile games, it’s worth downloading the model and running a quick decimate pass in Blender first — a two-minute job.
Can I edit the AI-generated model further? Yes. GLB/FBX/OBJ can all be imported into Blender, Maya, and similar software for further sculpting, retopology, or material edits. A common approach is to treat the AI output as a “high-quality rough draft” and have a human handle only the final 20% of polish.
What happens if there are multiple objects in the photo? The AI will try to reconstruct the main subject, and multiple objects in the same scene tend to interfere with each other. If you want a specific object, shoot it as its own close-up — one object at a time gives the most reliable results.
More in this series
- Image-to-Image Tools 2026: Style Transfer vs Inpainting vs Background Replacement — Which One Do You Need
- AI Headshot Generator 2026: The Complete LinkedIn & Professional Profile Guide (Free Tools, 5 Styles, Real Results)
- AI Pet Portrait Generator 2026: Oil Painting, Watercolor, Renaissance Pet Art (Etsy Commercial License Guide)
- AI X-Ray Image Generator 2026: Safe & Ethical Use Cases (Medical, Artistic, Educational)
- AI Palm Reading: A Practical Guide to the 5 Lines + Five Elements + the Tianji Chart